Transition notes:
- The track needs to be moved back to allow room for this lab. The parts holding the track to the table can stay.
- The following items from the previous lab (2305 lab 2) can stay:
- 850 Interface
- USB-mini USB cord
- Large Universal Clamp
- It is easier to construct this lab as you go. I tend to do it in this order:
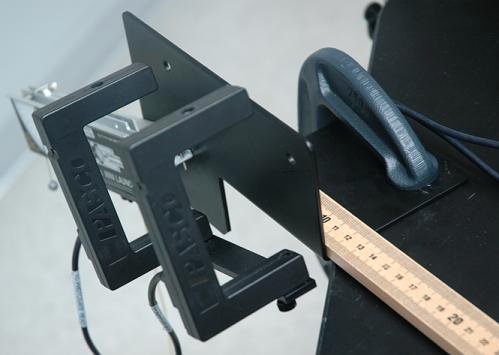
- Put out and construct the mini-launcher and photogates.
- Place the 2 meter stick on the launcher to tell you where to put the clamp for the bin.
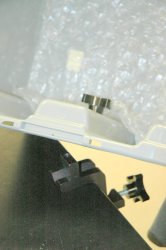
- Get out and attach the bin to the tables.
- Finish putting out everything else.
Equipment List:
- 850 Interface
- USB-mini USB cord
- 2 x Photogate Timer
- 2 x Photogate Cable
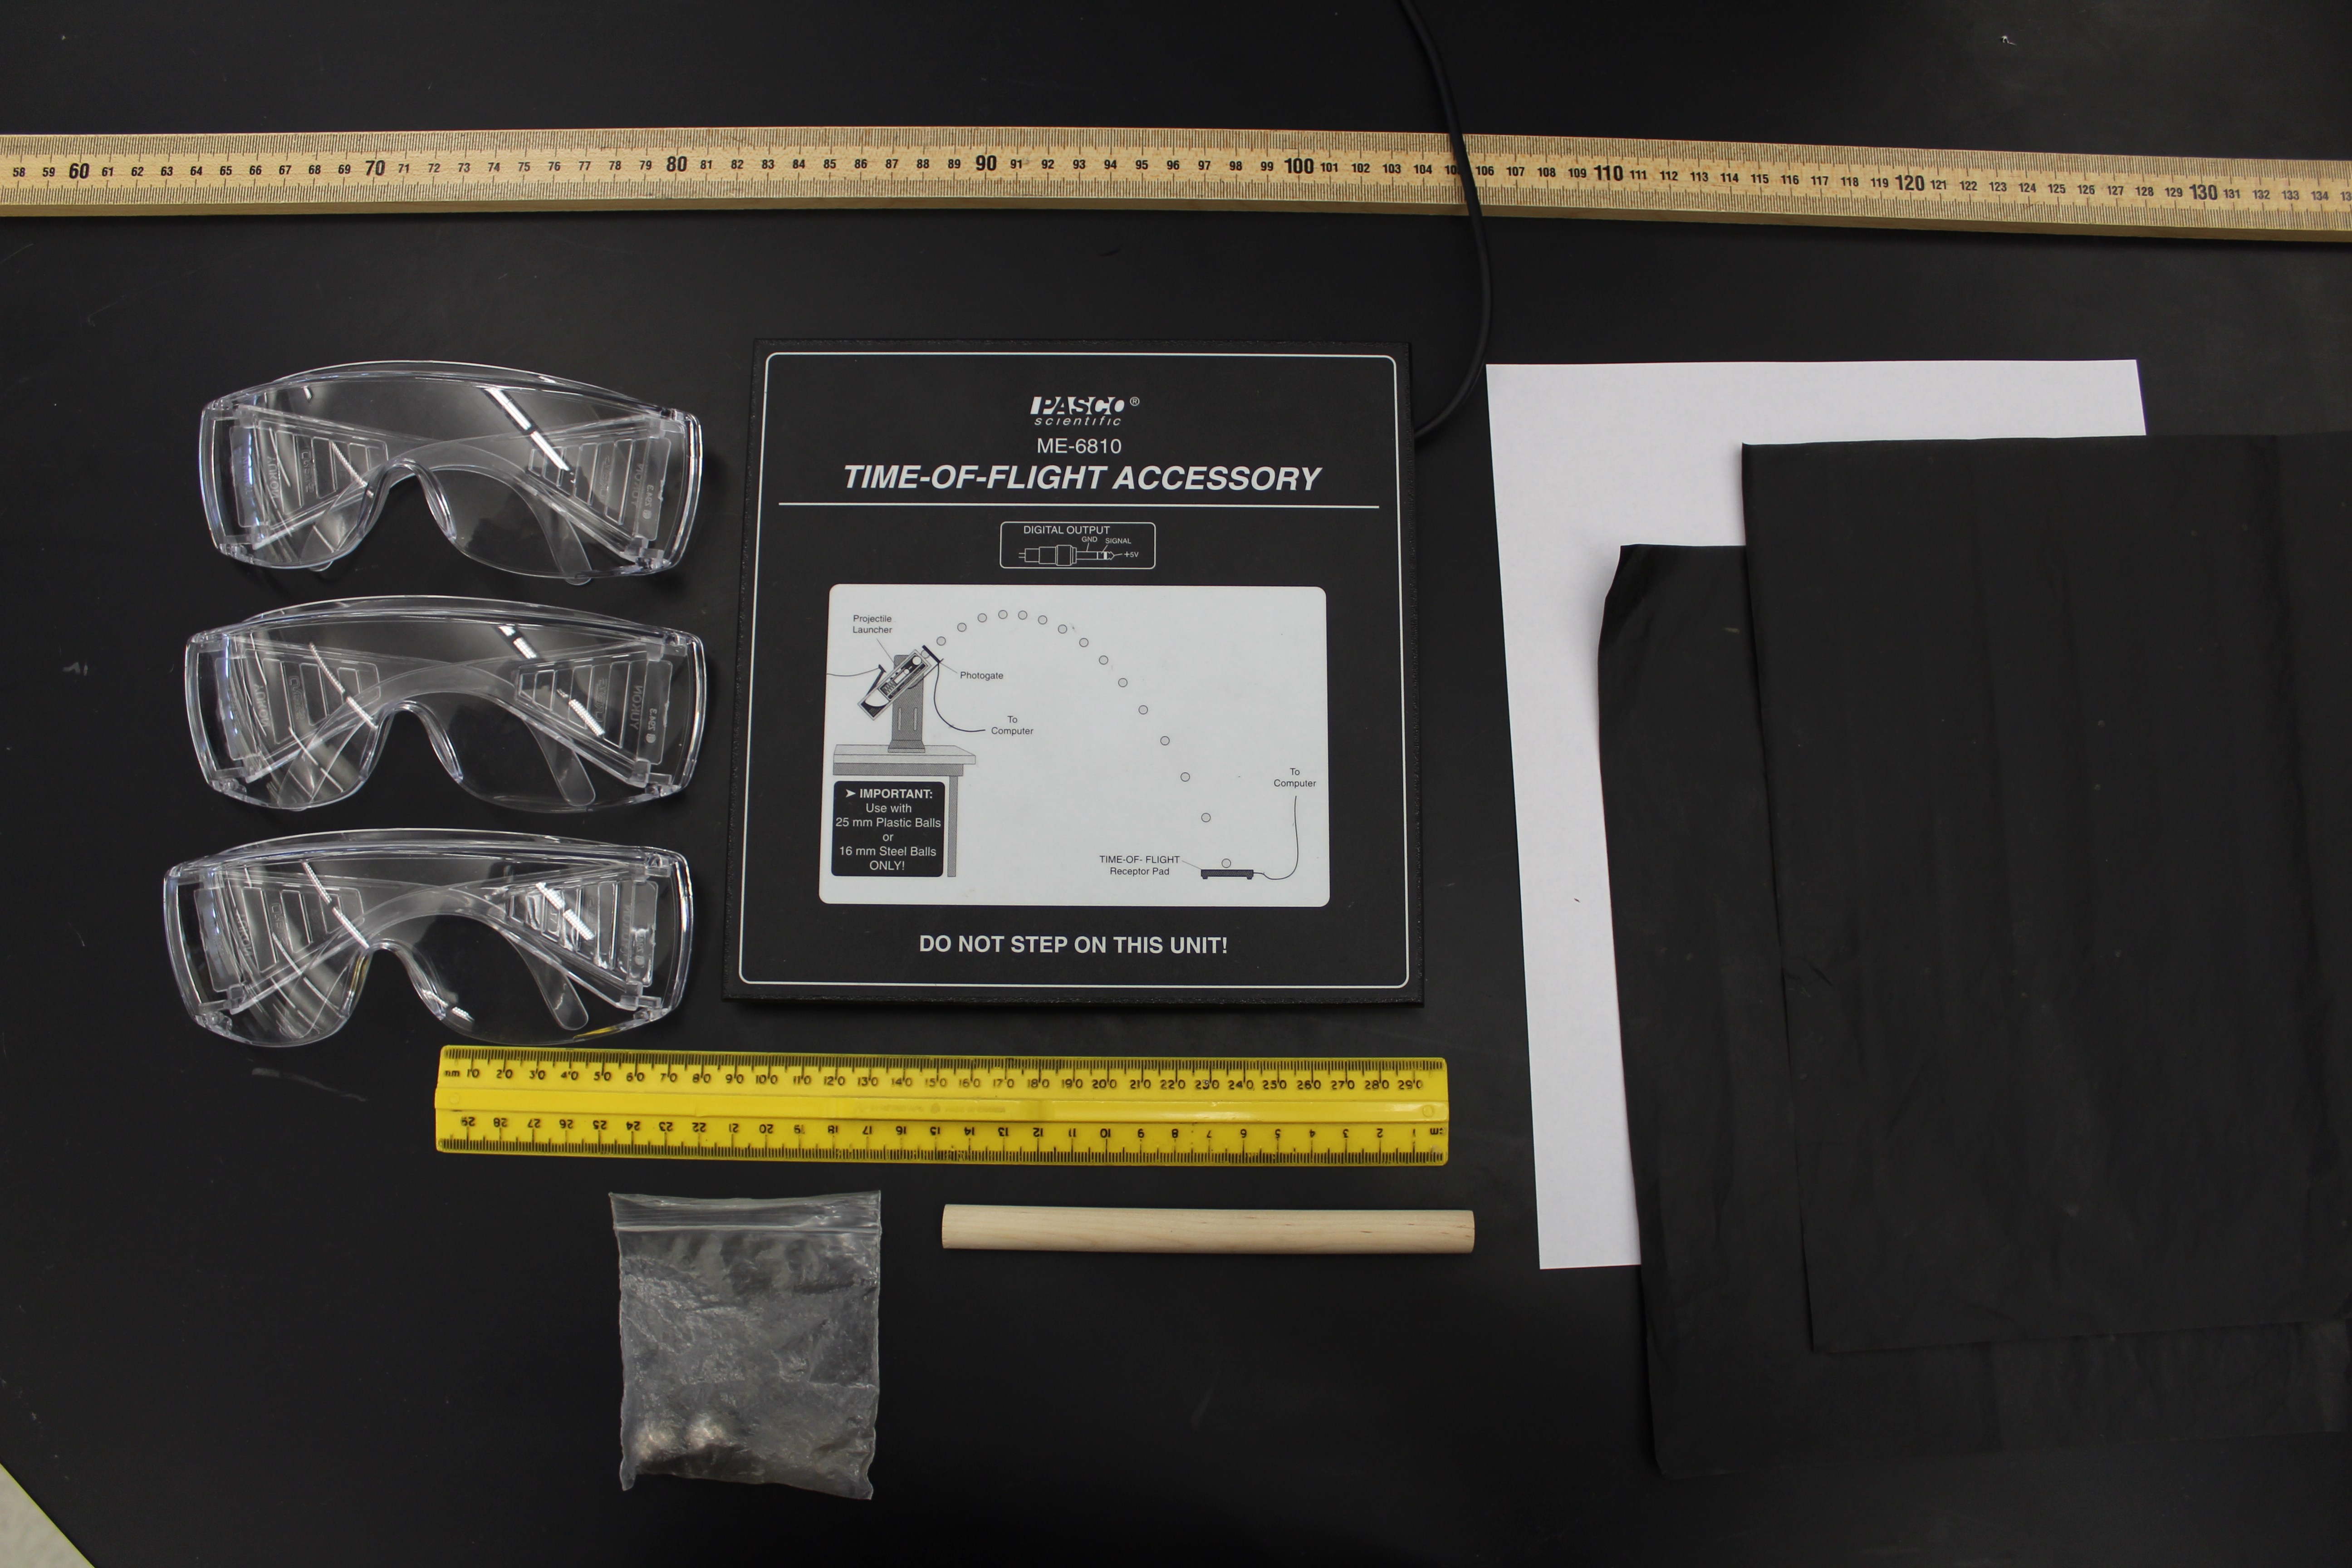
- Time of Flight Pad
- MiniLauncher
- Mini-Launcher Table Mount
- Photogate Mounting Bracket
- Plumb-Bob
- C-Clamp
- Cocking Rod
- Bag of 3 16 mm Steel Ball
- 2 meter stick
- 1 Sheet of Carbon Paper
- About 3 sheets of Paper, 85x11 White
- 3 pairs of Safety Goggles
- Plastic Catching Bin, Large
- Large Universal Clamp
- Foam pad inside of the bin
- 30 cm Ruler
On the TA Tables:
- 16 mm Steel Ball bag of 10.
- Carbon Paper small stack
- Disinfecting Wipes. Also place another 1 or 2 containers around the quad in a visible spot.


![[HOME]](http://www1.phys.vt.edu/~demo/images/Mis/home2.GIF)
![[PREV]](http://www1.phys.vt.edu/~demo/images/Mis/arrow2.GIF)
![[PREV]](http://www1.phys.vt.edu/~demo/images/Mis/arrownew.gif)