
Transition notes:
- Sweepy sweepy!
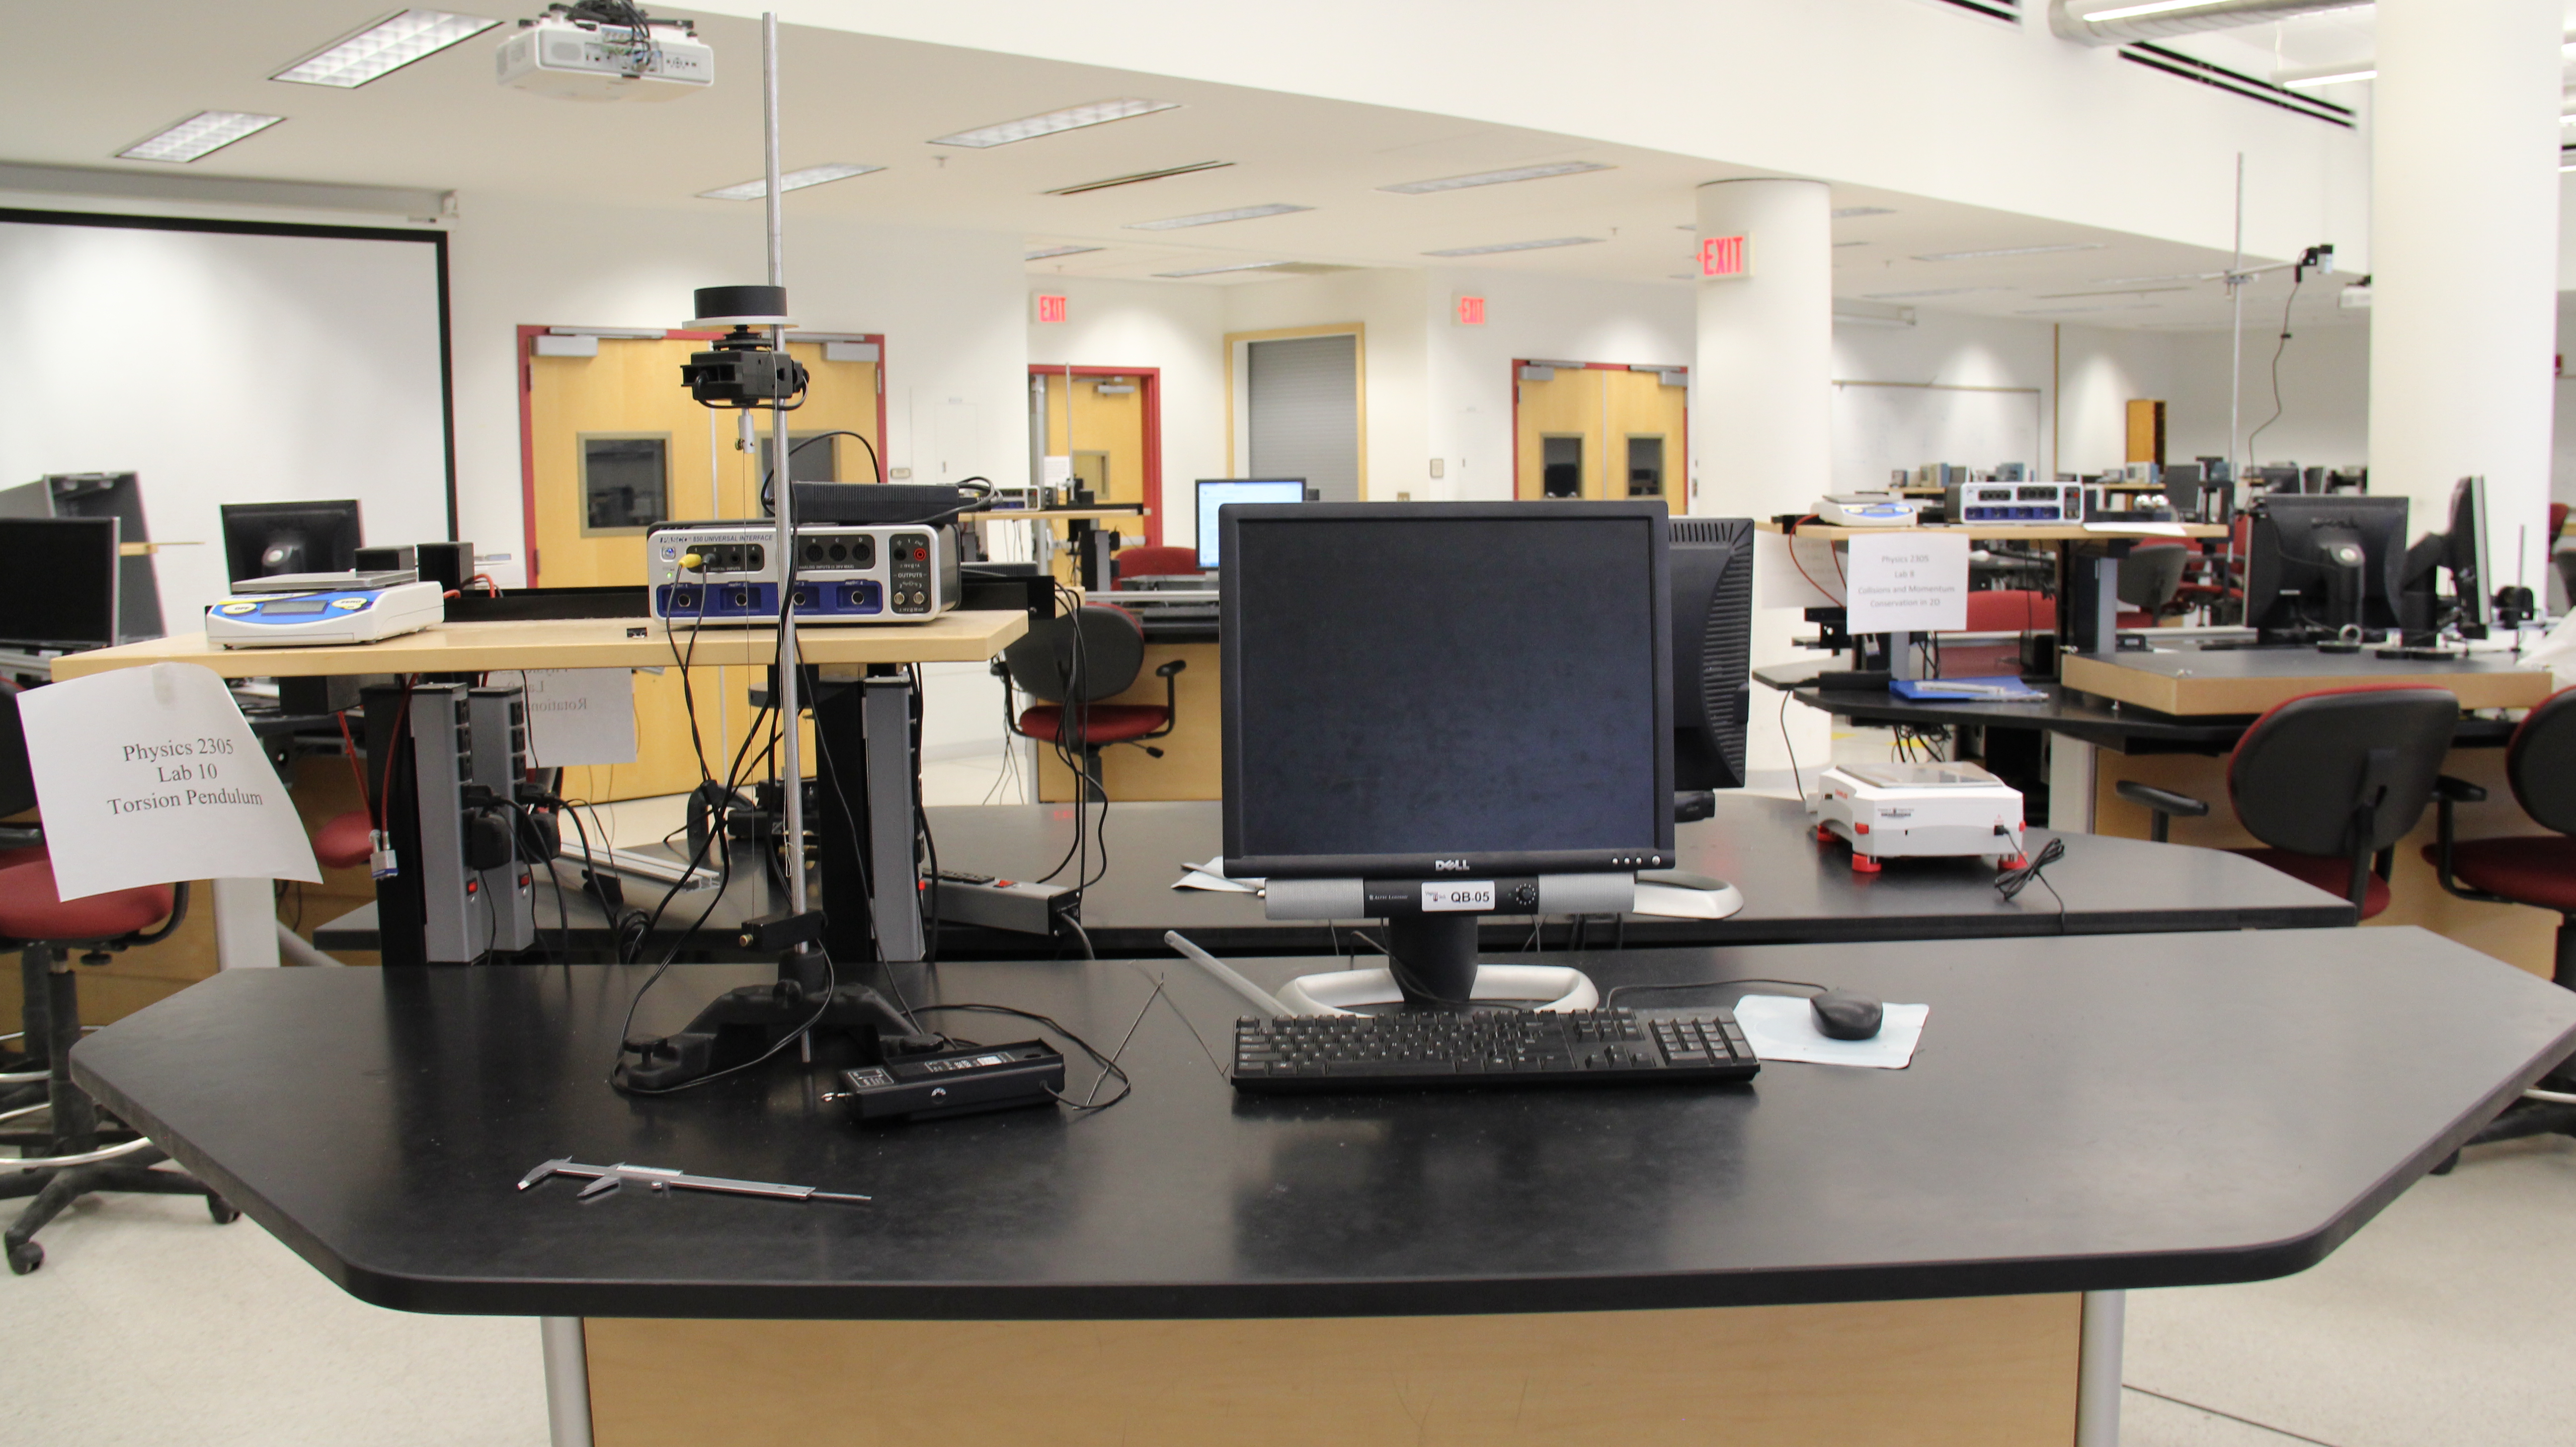
Equipment List:
- 850 Interface
- USB-mini USB cord
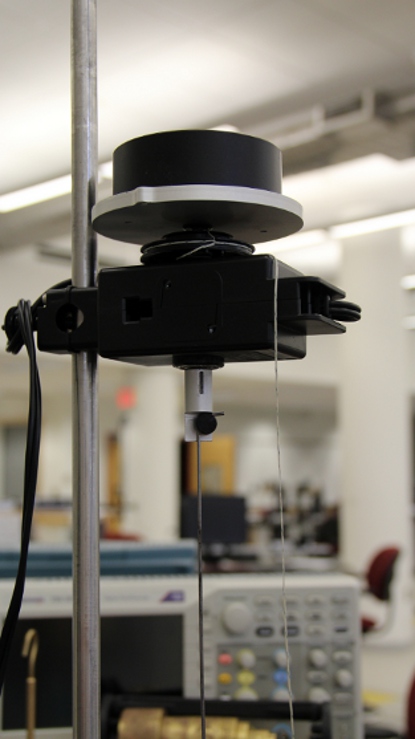
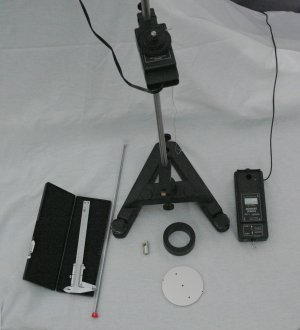
- Rotary Motion Sensor With String
- Force Probe
- Torsional Pendulum Disk
- Torsional Pendulum Hoop (AKA Torsion Ring)
- Torsional Pendulum Bottom Support Block (AKA Bottom Block)
- Torsional Pendulum Top Clamp
- Three Wire Set:
- Torsional Pendulum Wire - Large
- Torsional Pendulum Wire - Medium
- Torsional Pendulum Wire - Small
- 90cm Rod
- A-Base
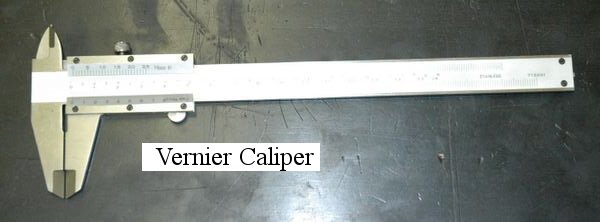
- Vernier Caliper
- Electronic Balance - 2,200g, 0.01g Readability
- Woodruff Key (ensure that woodruff key is in the torsional pendulum top clamp)


![[HOME]](../../images/Mis/home2.GIF)
![[PREV]](../../images/Mis/arrow2.GIF)
![[PREV]](../../images/Mis/arrownew.gif)