All of the materials from the previous lab need to be put away except two of each color banana plug cables and two of each color alligator clip adapters.
Equipment List:
850 Interface
USB-A to USB-mini USB cord
Magnetic Field Sensor
8 pin DIN extension cable
Bar Magnet Box
2 x Bar Magnet, Cylindrical
2 x Bar Magnet Keeper
Magnet - Variable Gap
3 x Compass Small
Magnetic Test Materials bag:
Aluminum Cylinder
Wooden Cylinder
Brass Cylinder
Iron Cylinder
Plastic Cylinder - Black
Paper Clip - Steel
Plastic Pivoting Stand
2 x Red Banana Cord (2 plugged into Current Sensors)
2 x Black Banana Cord (2 plugged into Current Sensors)
2 x Red Alligator Clip (all but 1 attached to banana plugs)
2 x Black Alligator Clip (all but 1 attached to banana plugs)
Thoroughly test the polarization of all bar magnets and compasses.
Test that the permanent magnets are oriented correctly. (side with Pasco label is South)
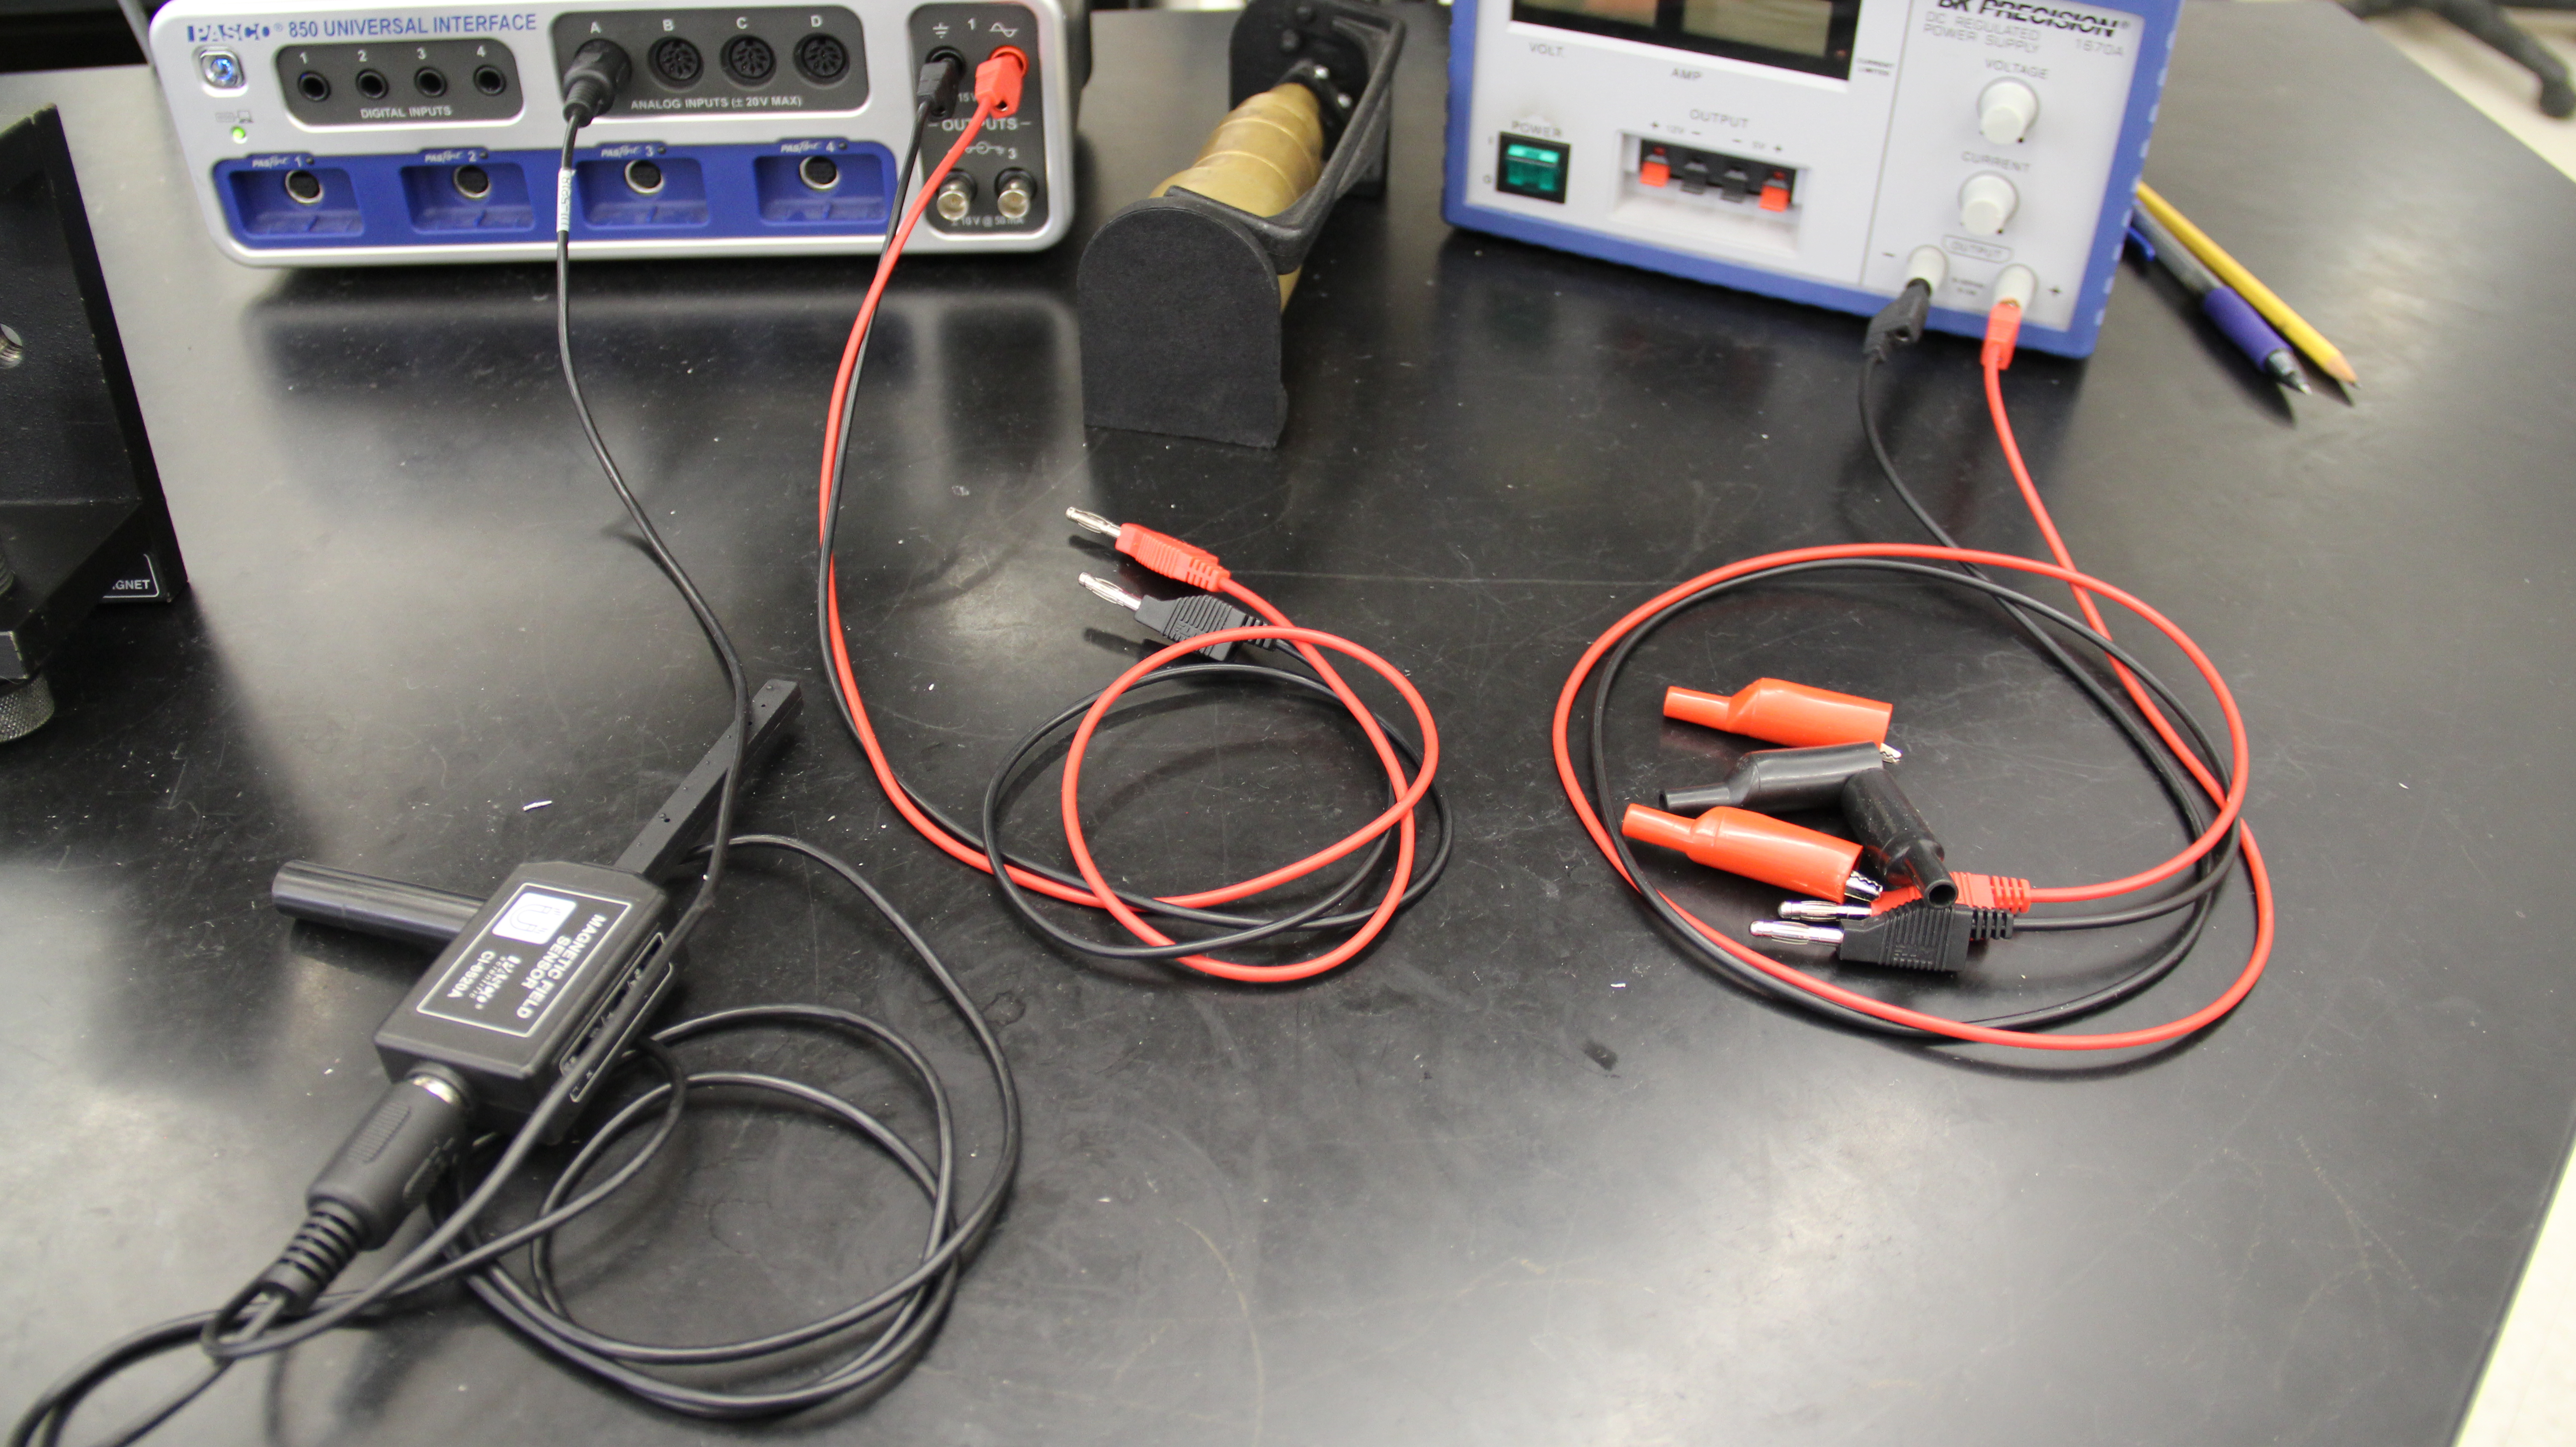
Hook the power amp to the solenoid and use the test file "2306 Lab 8 test.cap" to test the magnetic field sensor and the power amp simultaneously.
The paper clip is in fact part of the lab and needed.
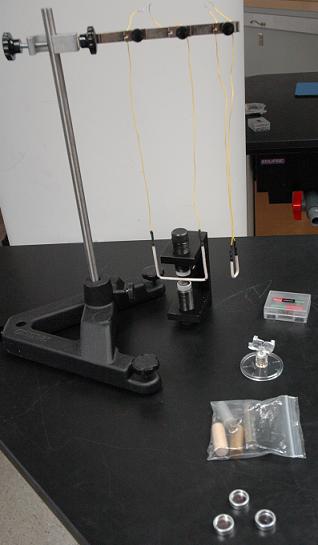
This is what your table should look like once set up
Additional Images below:
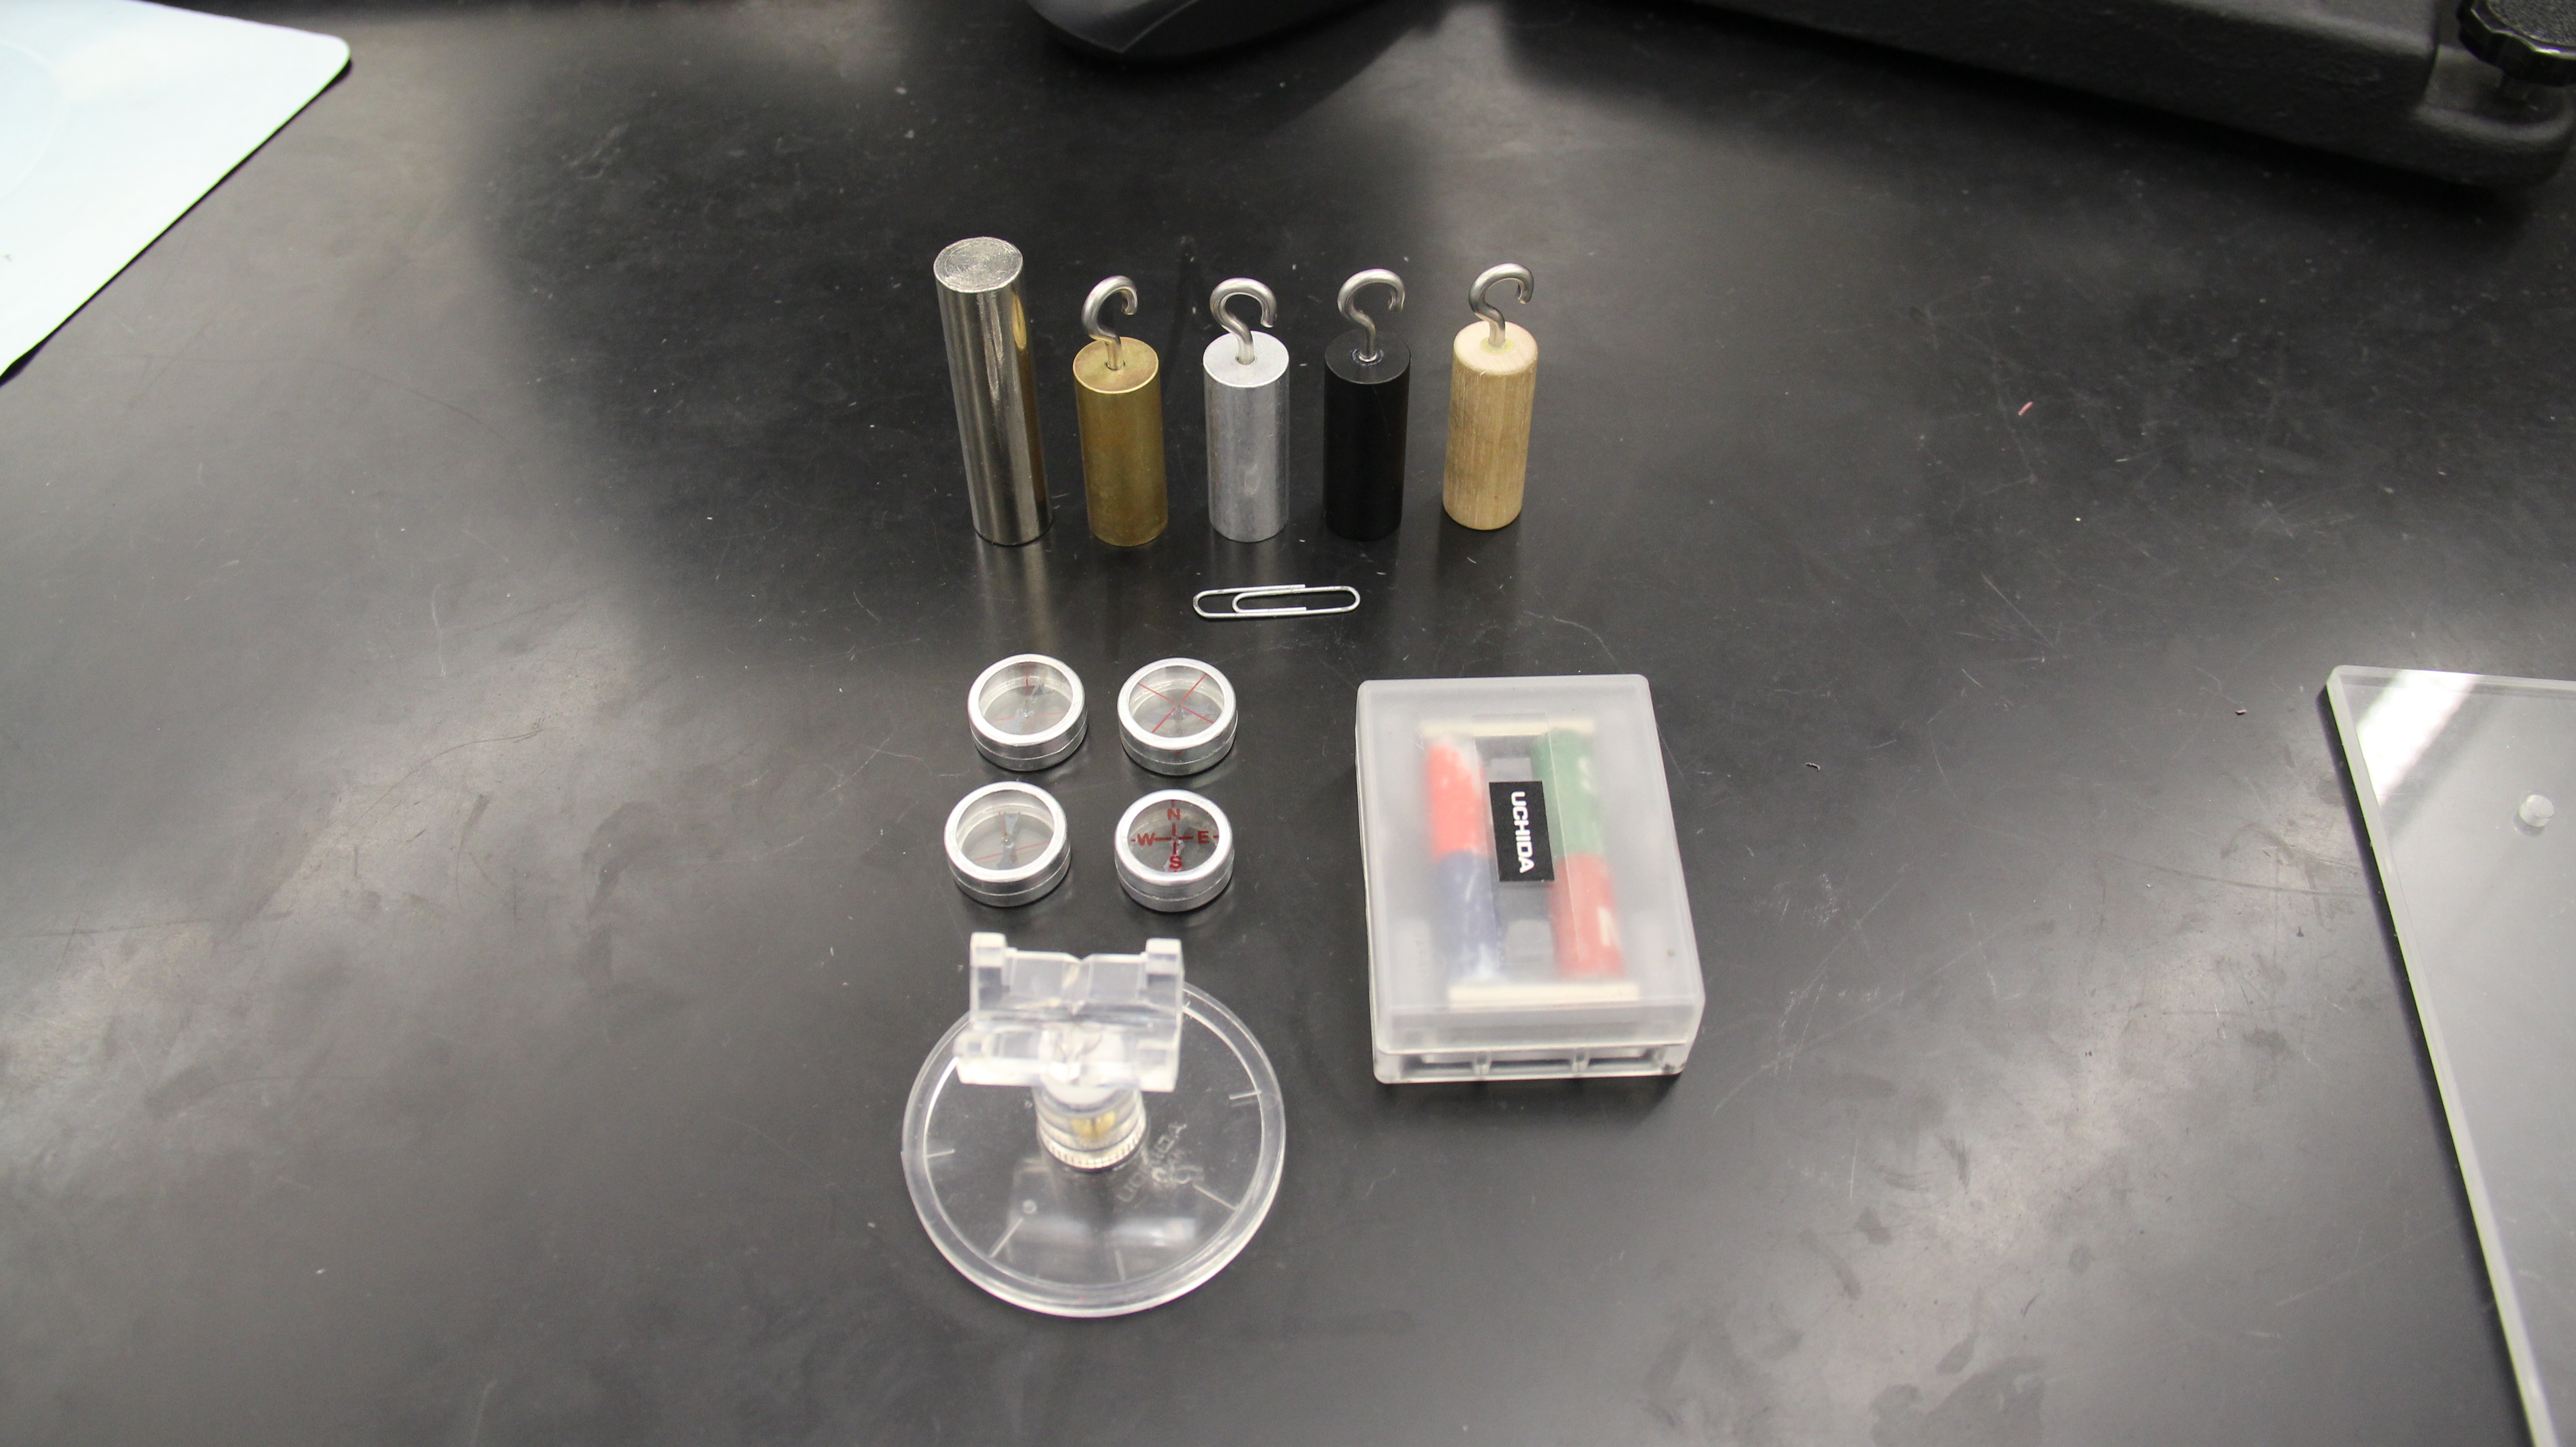
Try to keep these items tidy as you set up
Magnetic materials, small compasses,
bar magnets, and the pivoting magnet stand
Additional Instructions Below:
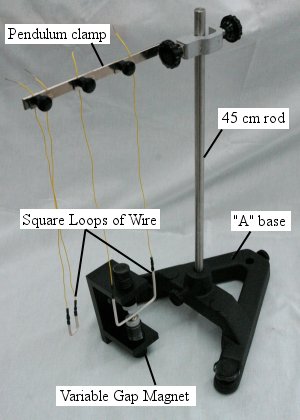
Set up instructions for 2-square loops of wire:
The 45 cm rod is inserted into the "A" base and tightened down. The pendulum clamp is tightened to the rod roughly near the top. The two lead wires for the small loop are placed under either side of the small metal plate of the pendulum clamp's far end screw. About 2 inches of the lead wires should be above the clamp. The lead wires for the large loop should be placed under the metal plates of the pendulum clamp's second and third screws. About 2 inches of the lead wires should be above the clamp. The pendulum clamp can then be slide up or down on the rod to match the position of the magnet. The students will make the final adjustments as needed during the lab time. There is no need to set up the variable magnet up in advance of the class. They only need to be set out on the table.
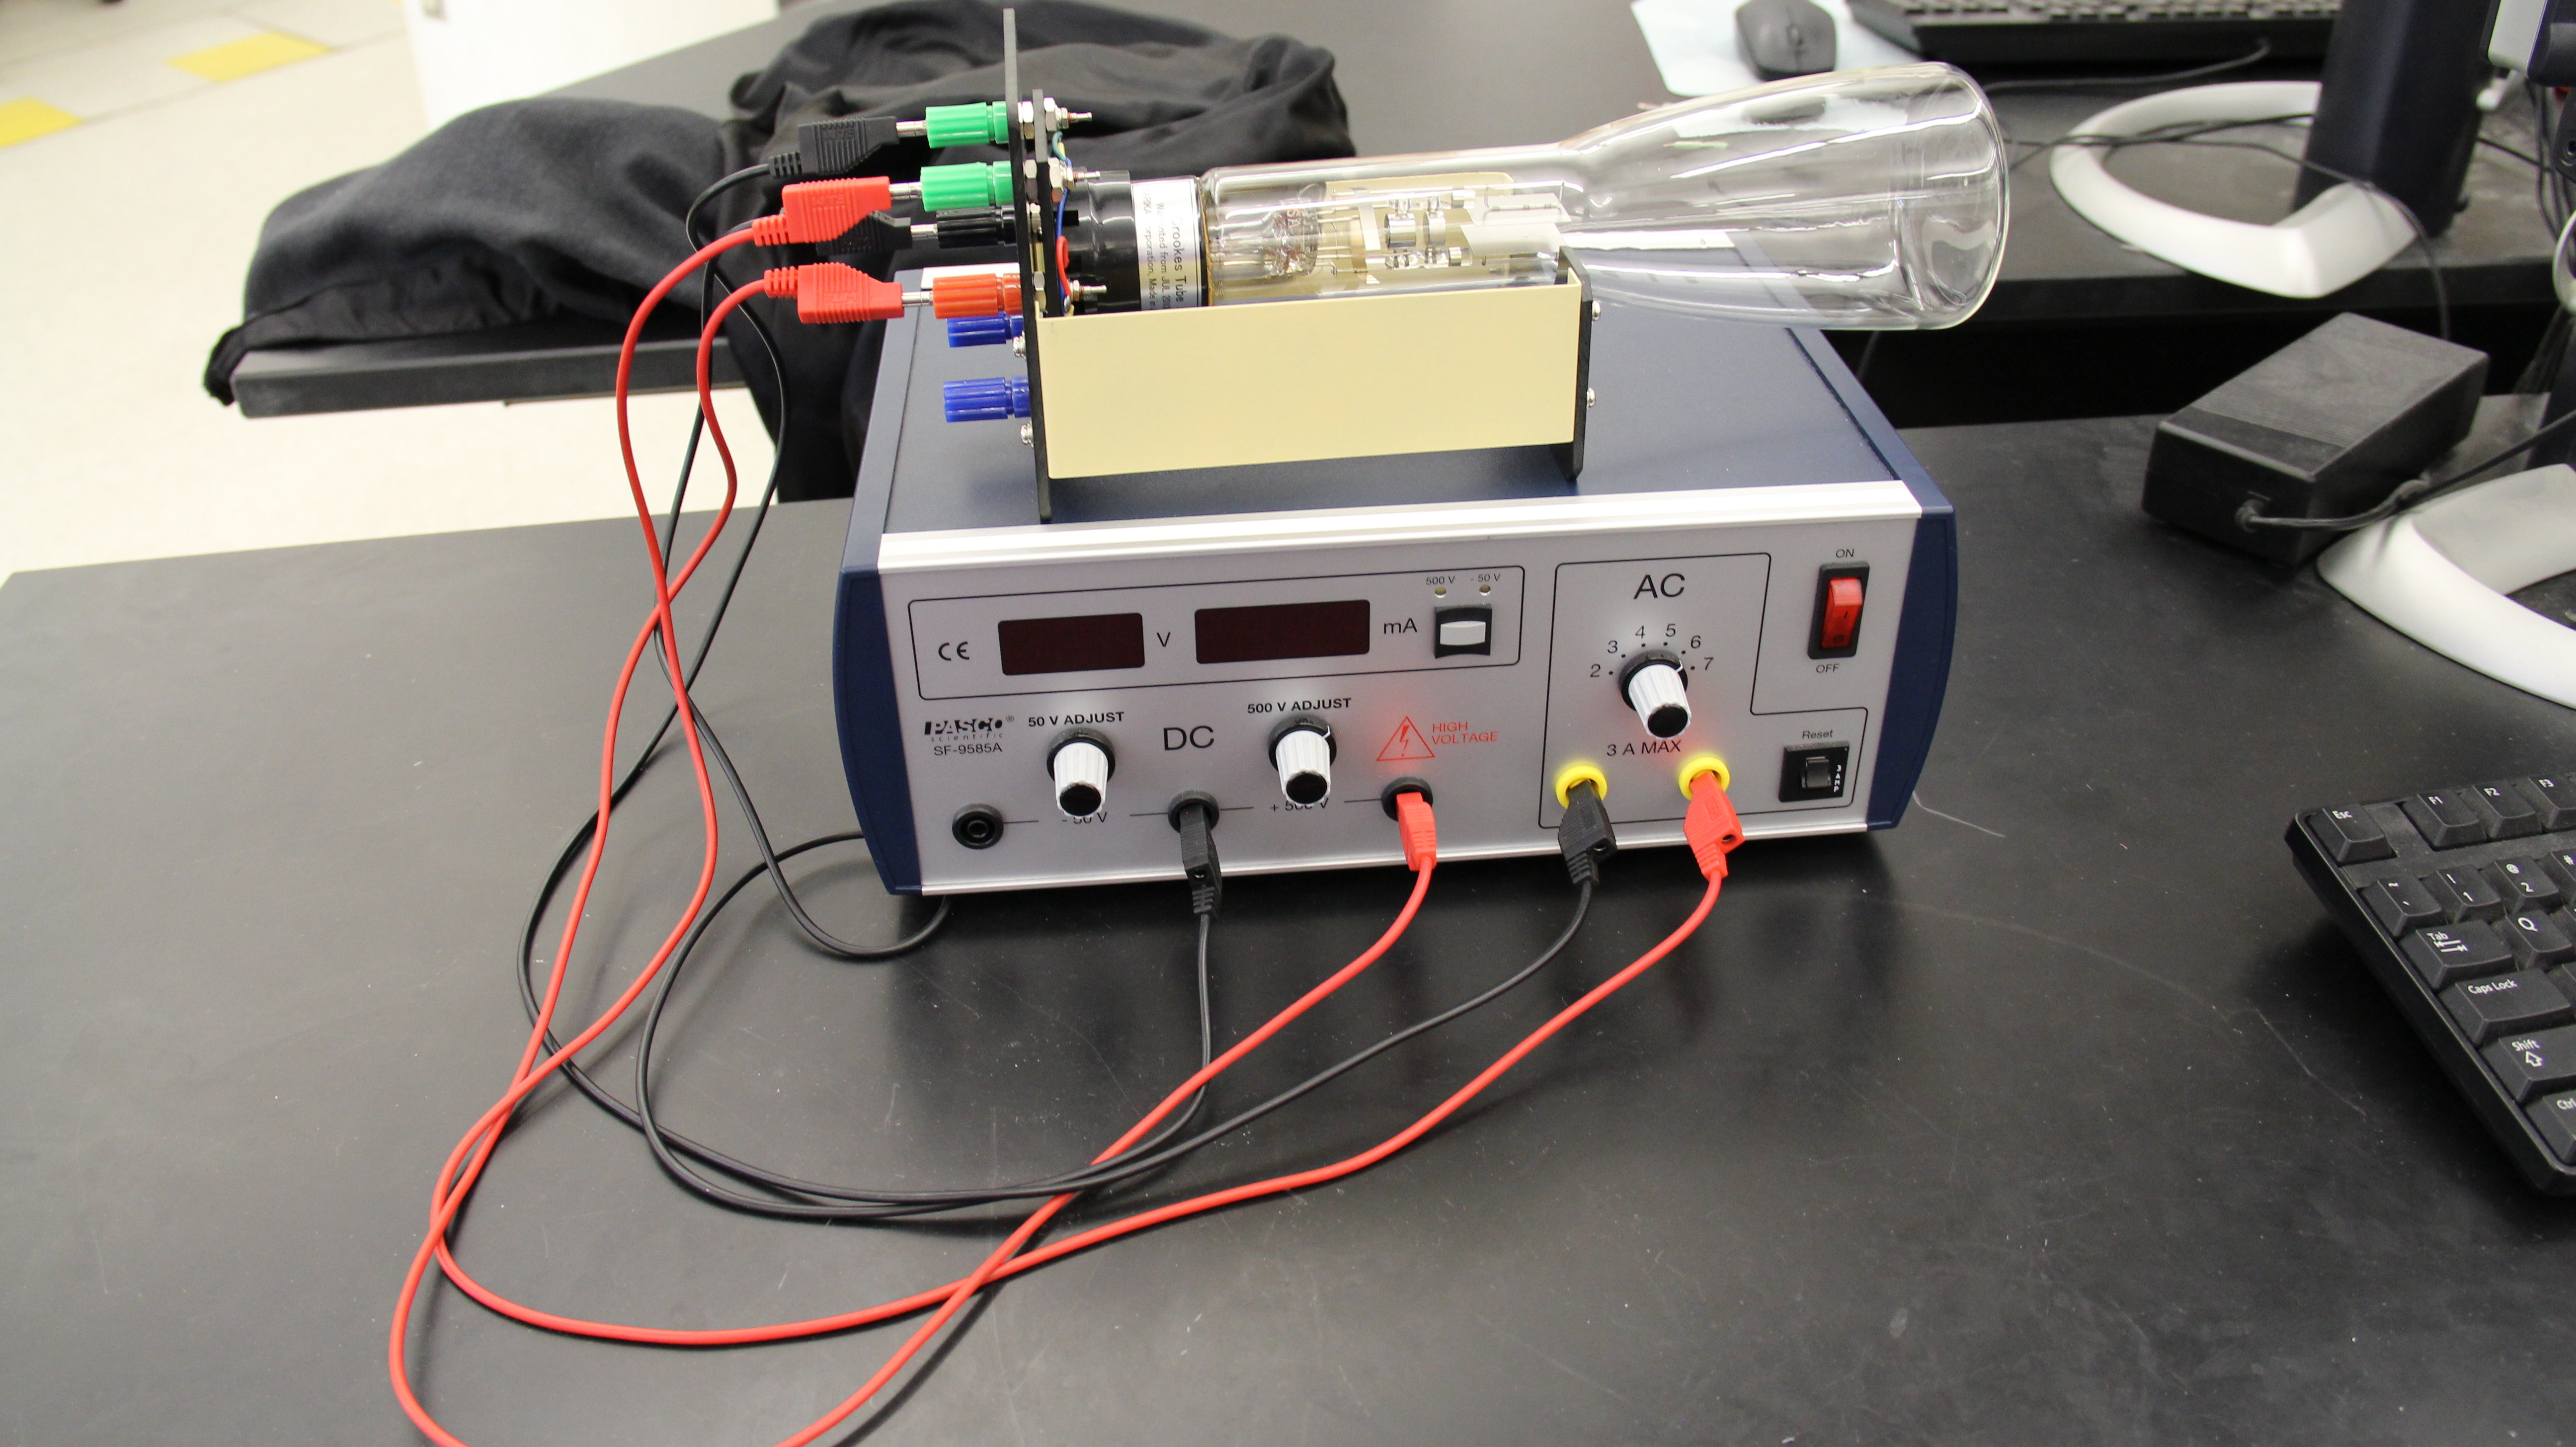
Crookes setup instructions:
The Crookes Tube Setup requires:
High Voltage Power Supply or Crookes Tube Power Supply
2 black banana plug wires
2 red banana plug wires
Crookes Tube
If using the Crookes Tube Power supply, Follow the wires color coding. Otherwise plug the heating element part of the tube to the AC output of the power supply and set the output to 6V. Plug the electron beam part of the tube to the +500V part of the power supply and turn the voltage to ~300V. If it is plugged in correctly and the tube is working, there will be a green beam in the tube. As the tube gets older, the beam will begin to spread out and get wider towards the end.
![[Virginia Tech Department of Physics]](../../images/Mis/vtphyslogo2.gif)


![[HOME]](../../images/Mis/home2.GIF)
![[PREV]](../../images/Mis/arrow2.GIF)
![[PREV]](../../images/Mis/arrownew.gif)